
 Main Page
Introduction
Articles
Gallery
Main Page
Introduction
Articles
Gallery
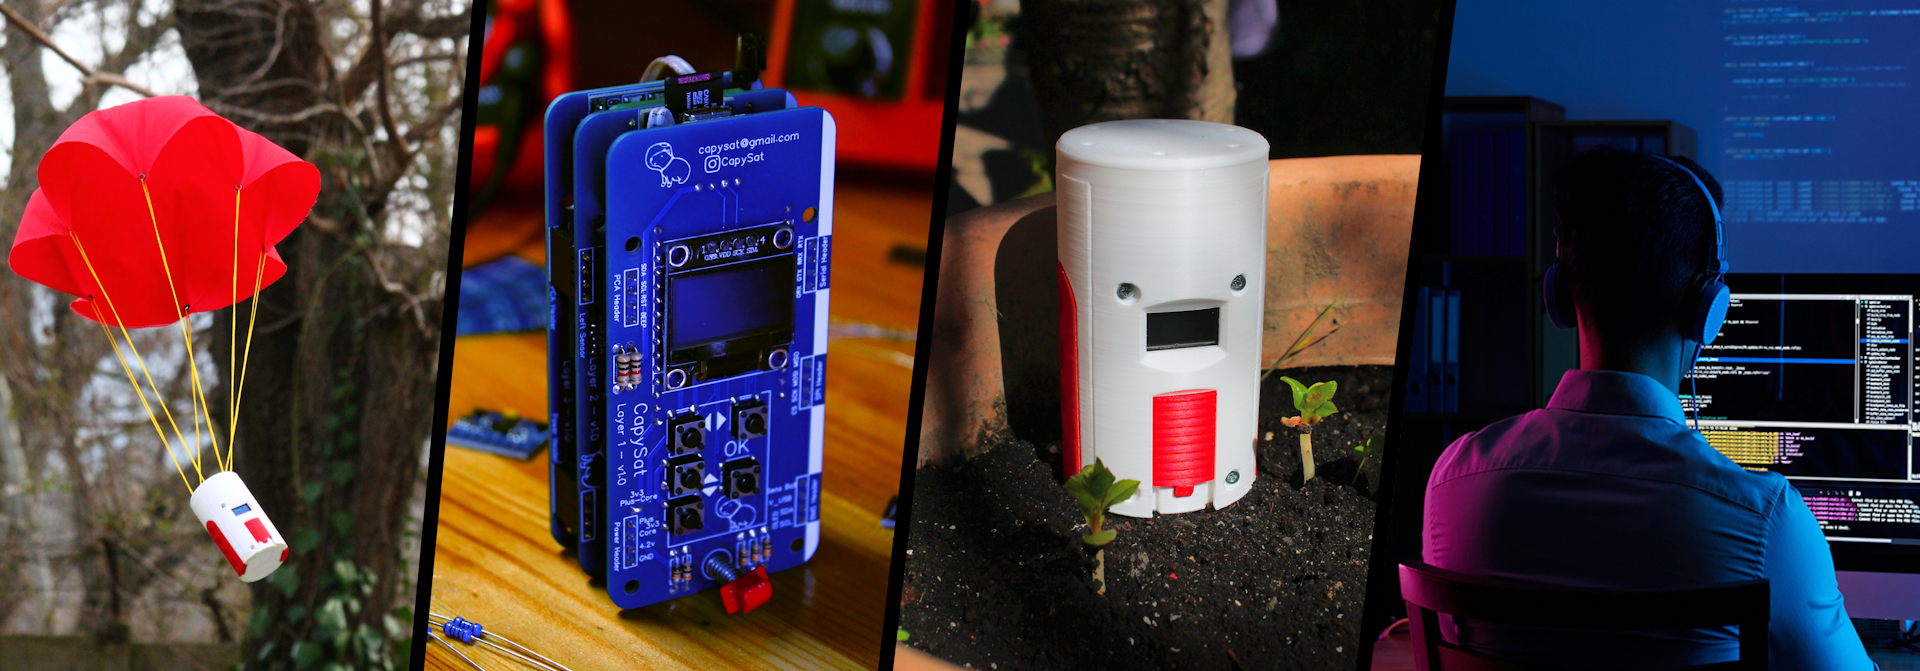

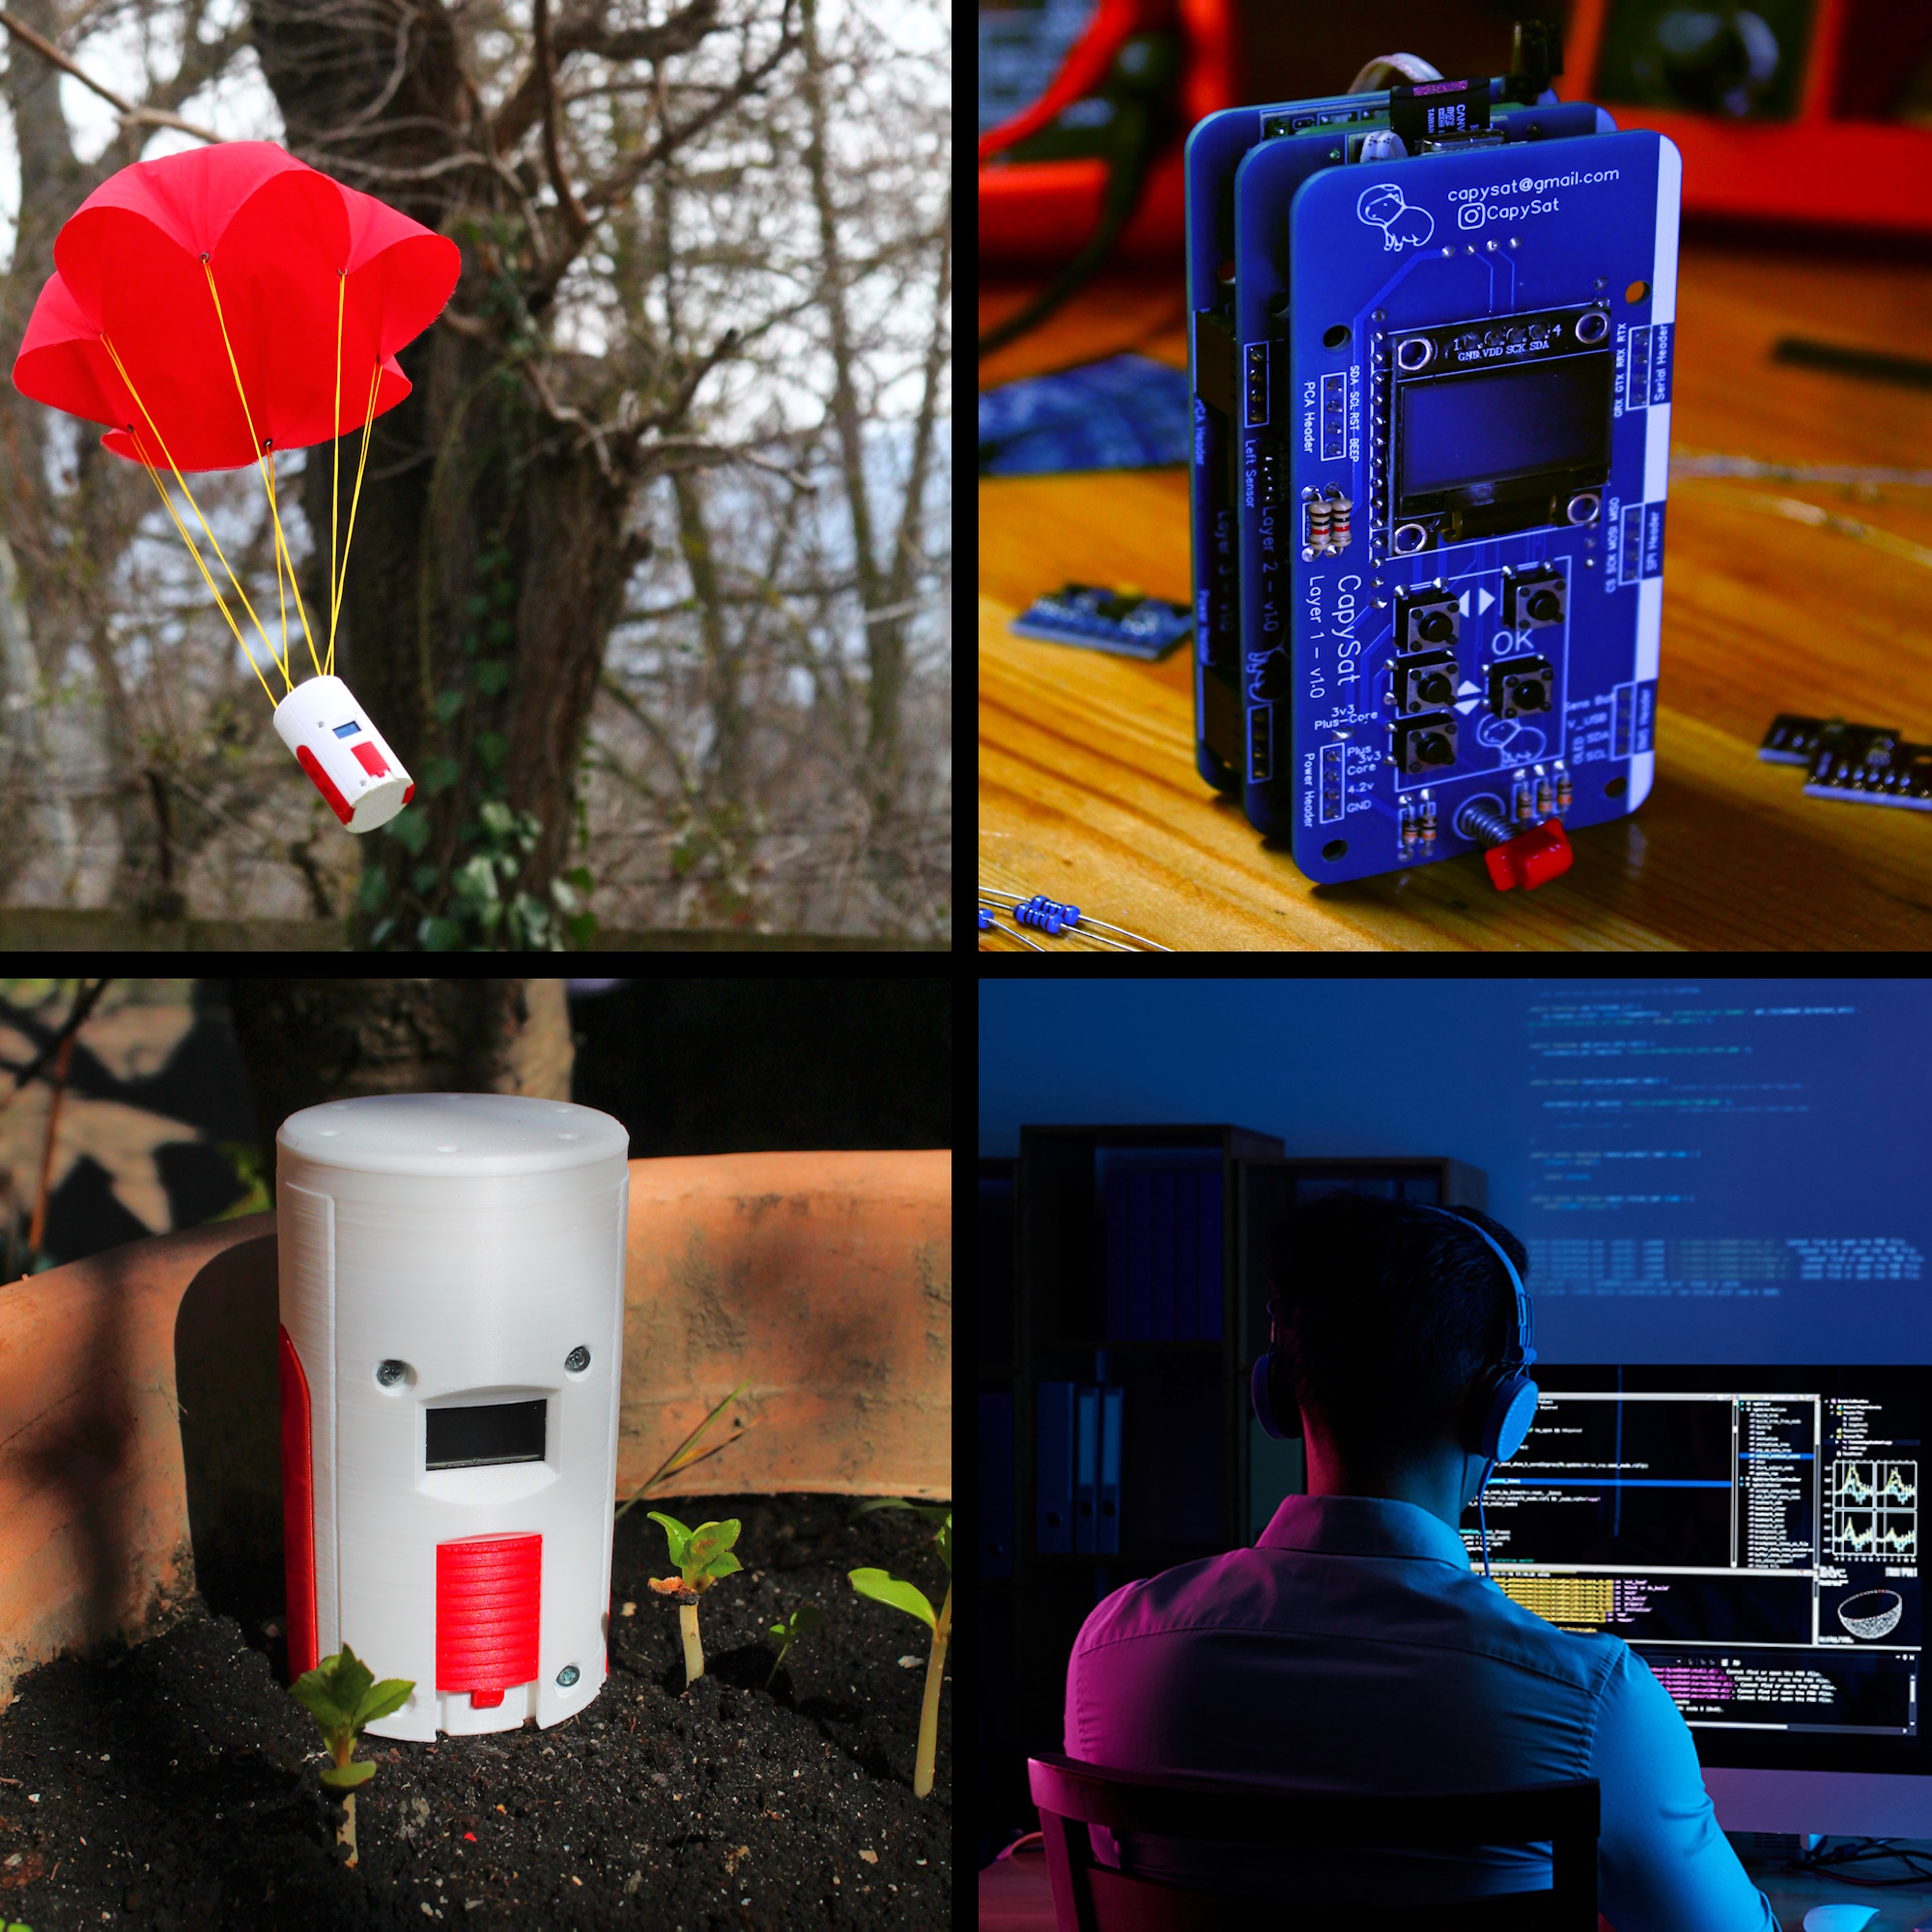
The CapySat was built for the 2024 CanSat Hungary competition, where teams of high school students had to build a model of a satellite the size of a soft drink can

The CanSat is a satellite simulation, so it has all components of a real satellite. Power source, onboard computer, radio module and scientific sensors.

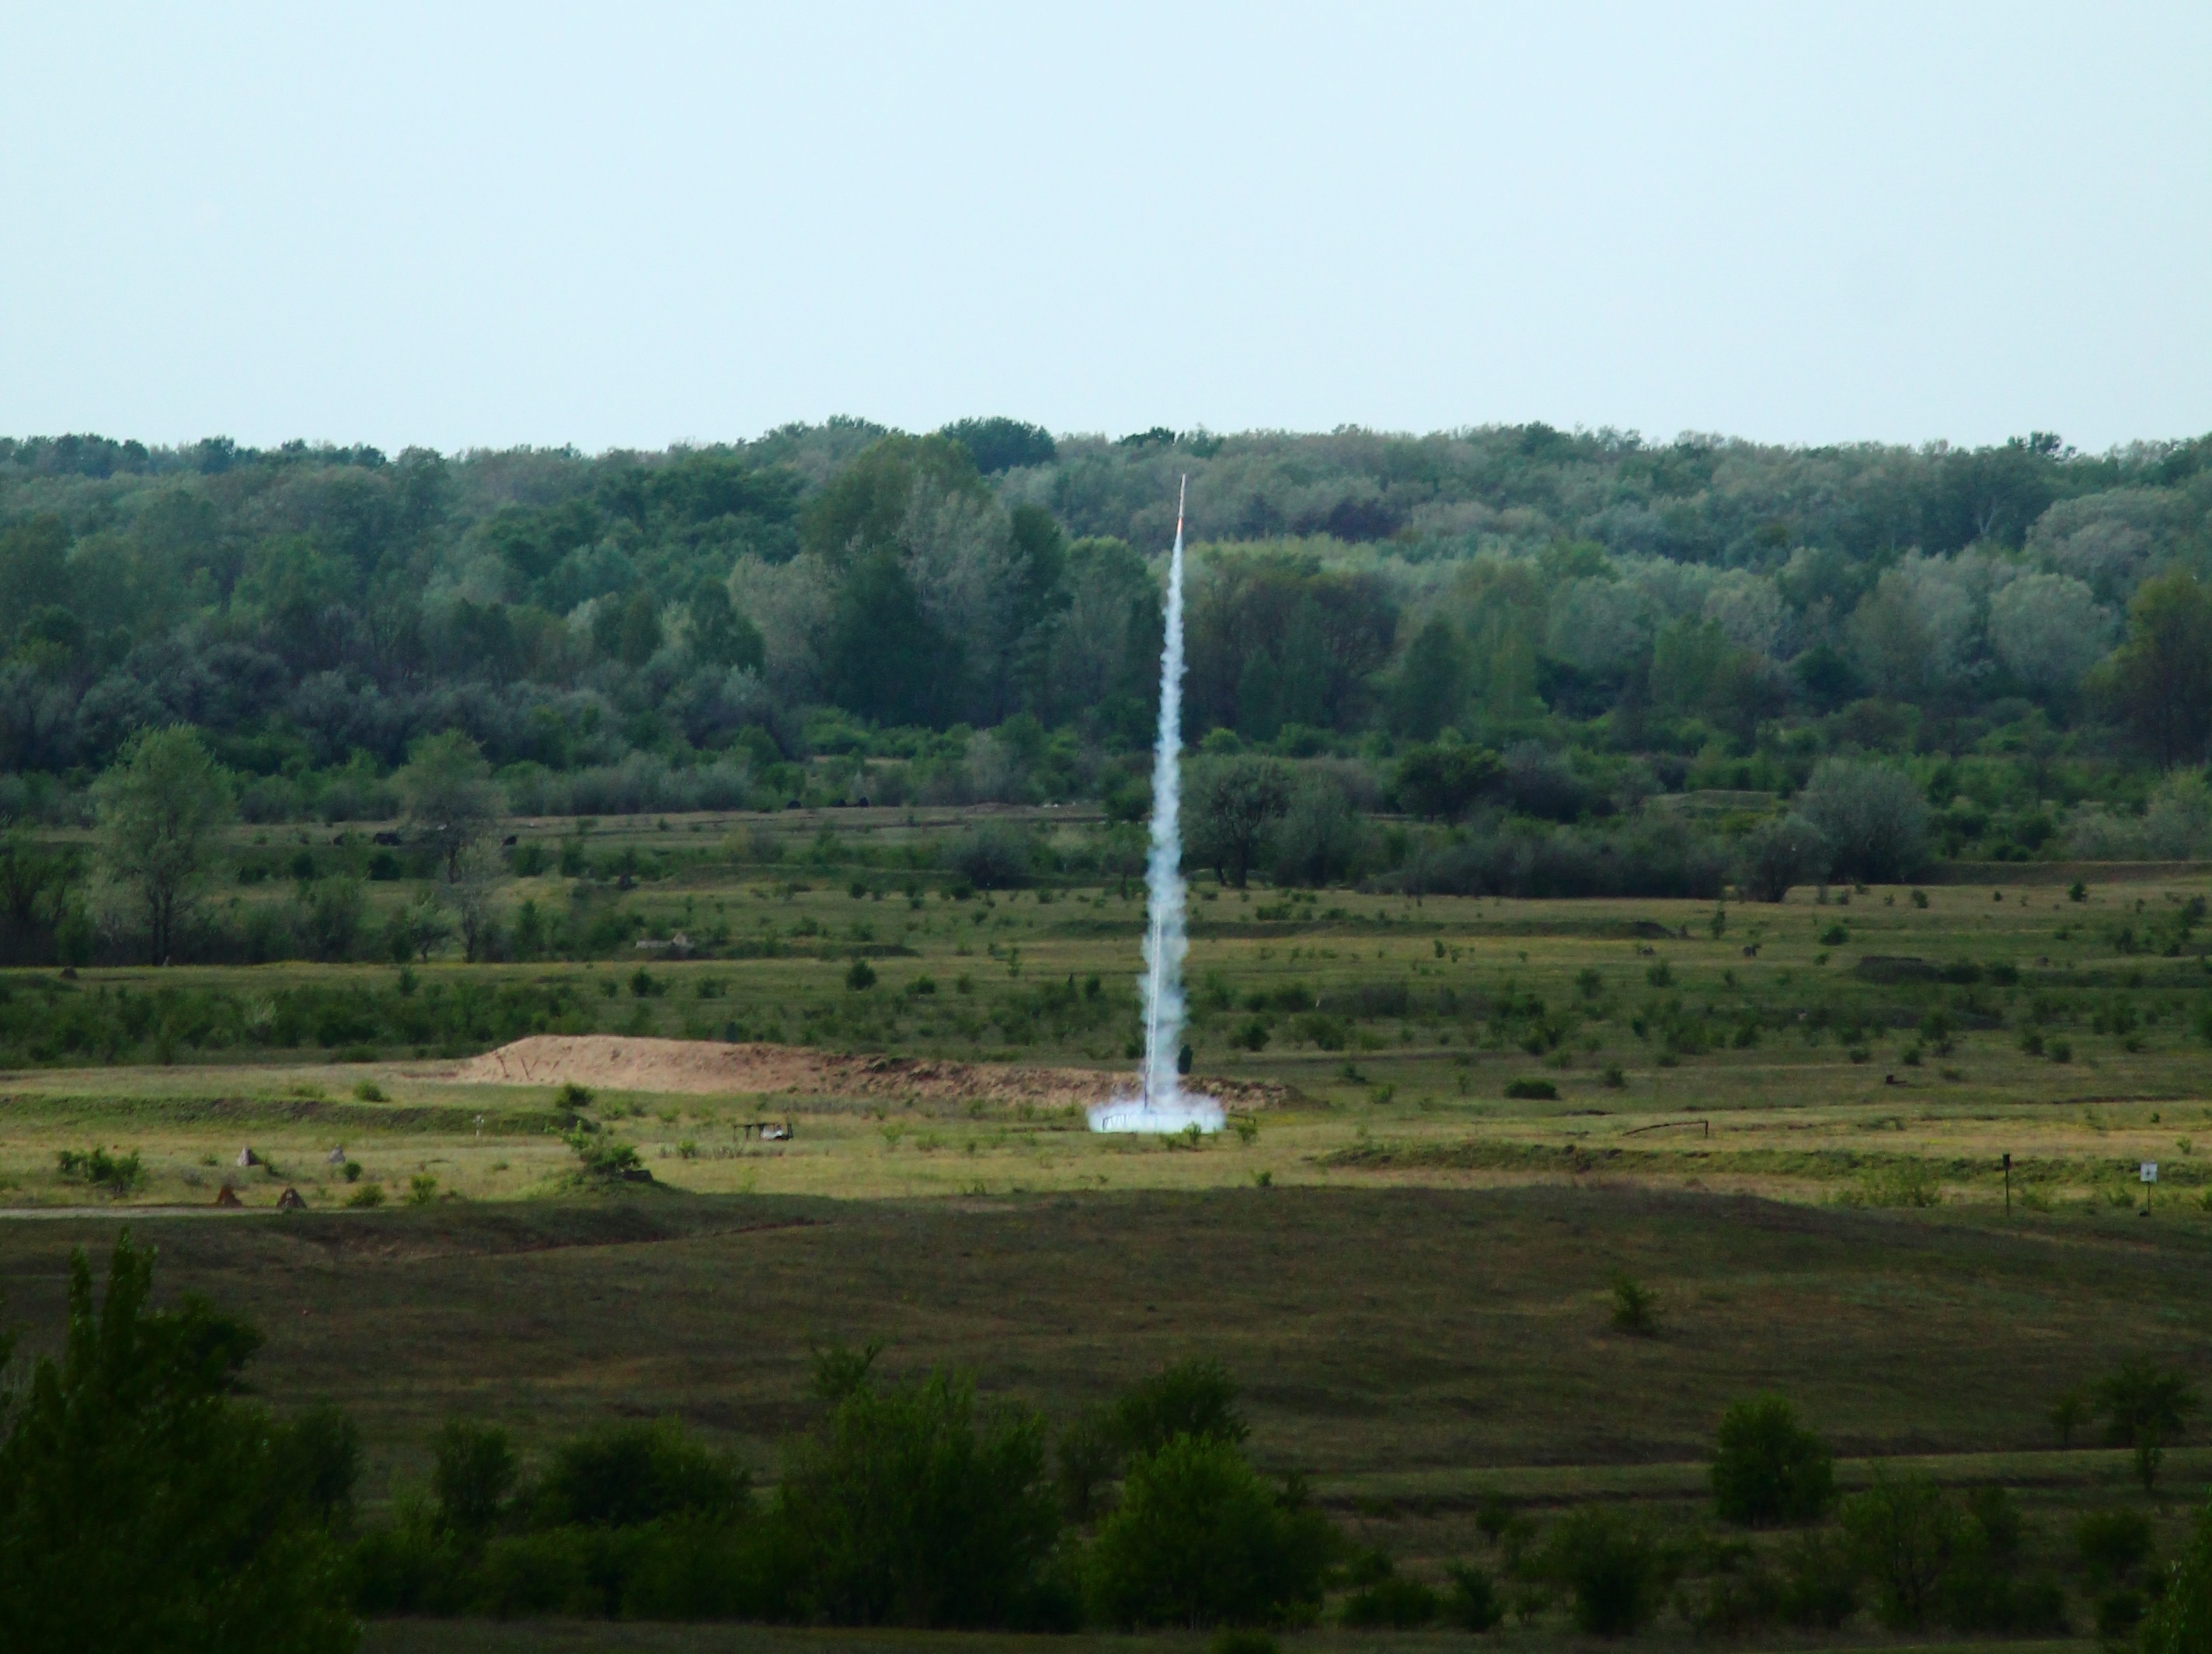
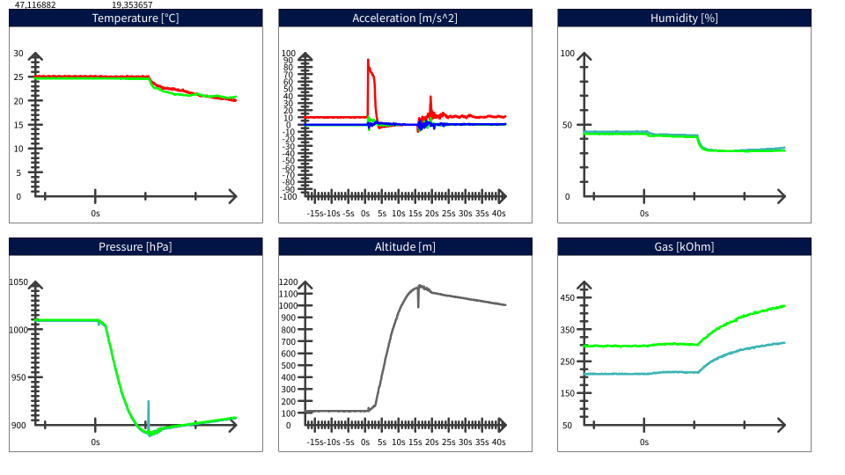
In the final, our CanSat was launched by BME Suborbitals' rocket to 1km high, from where it descended safely with the help of a parachute.
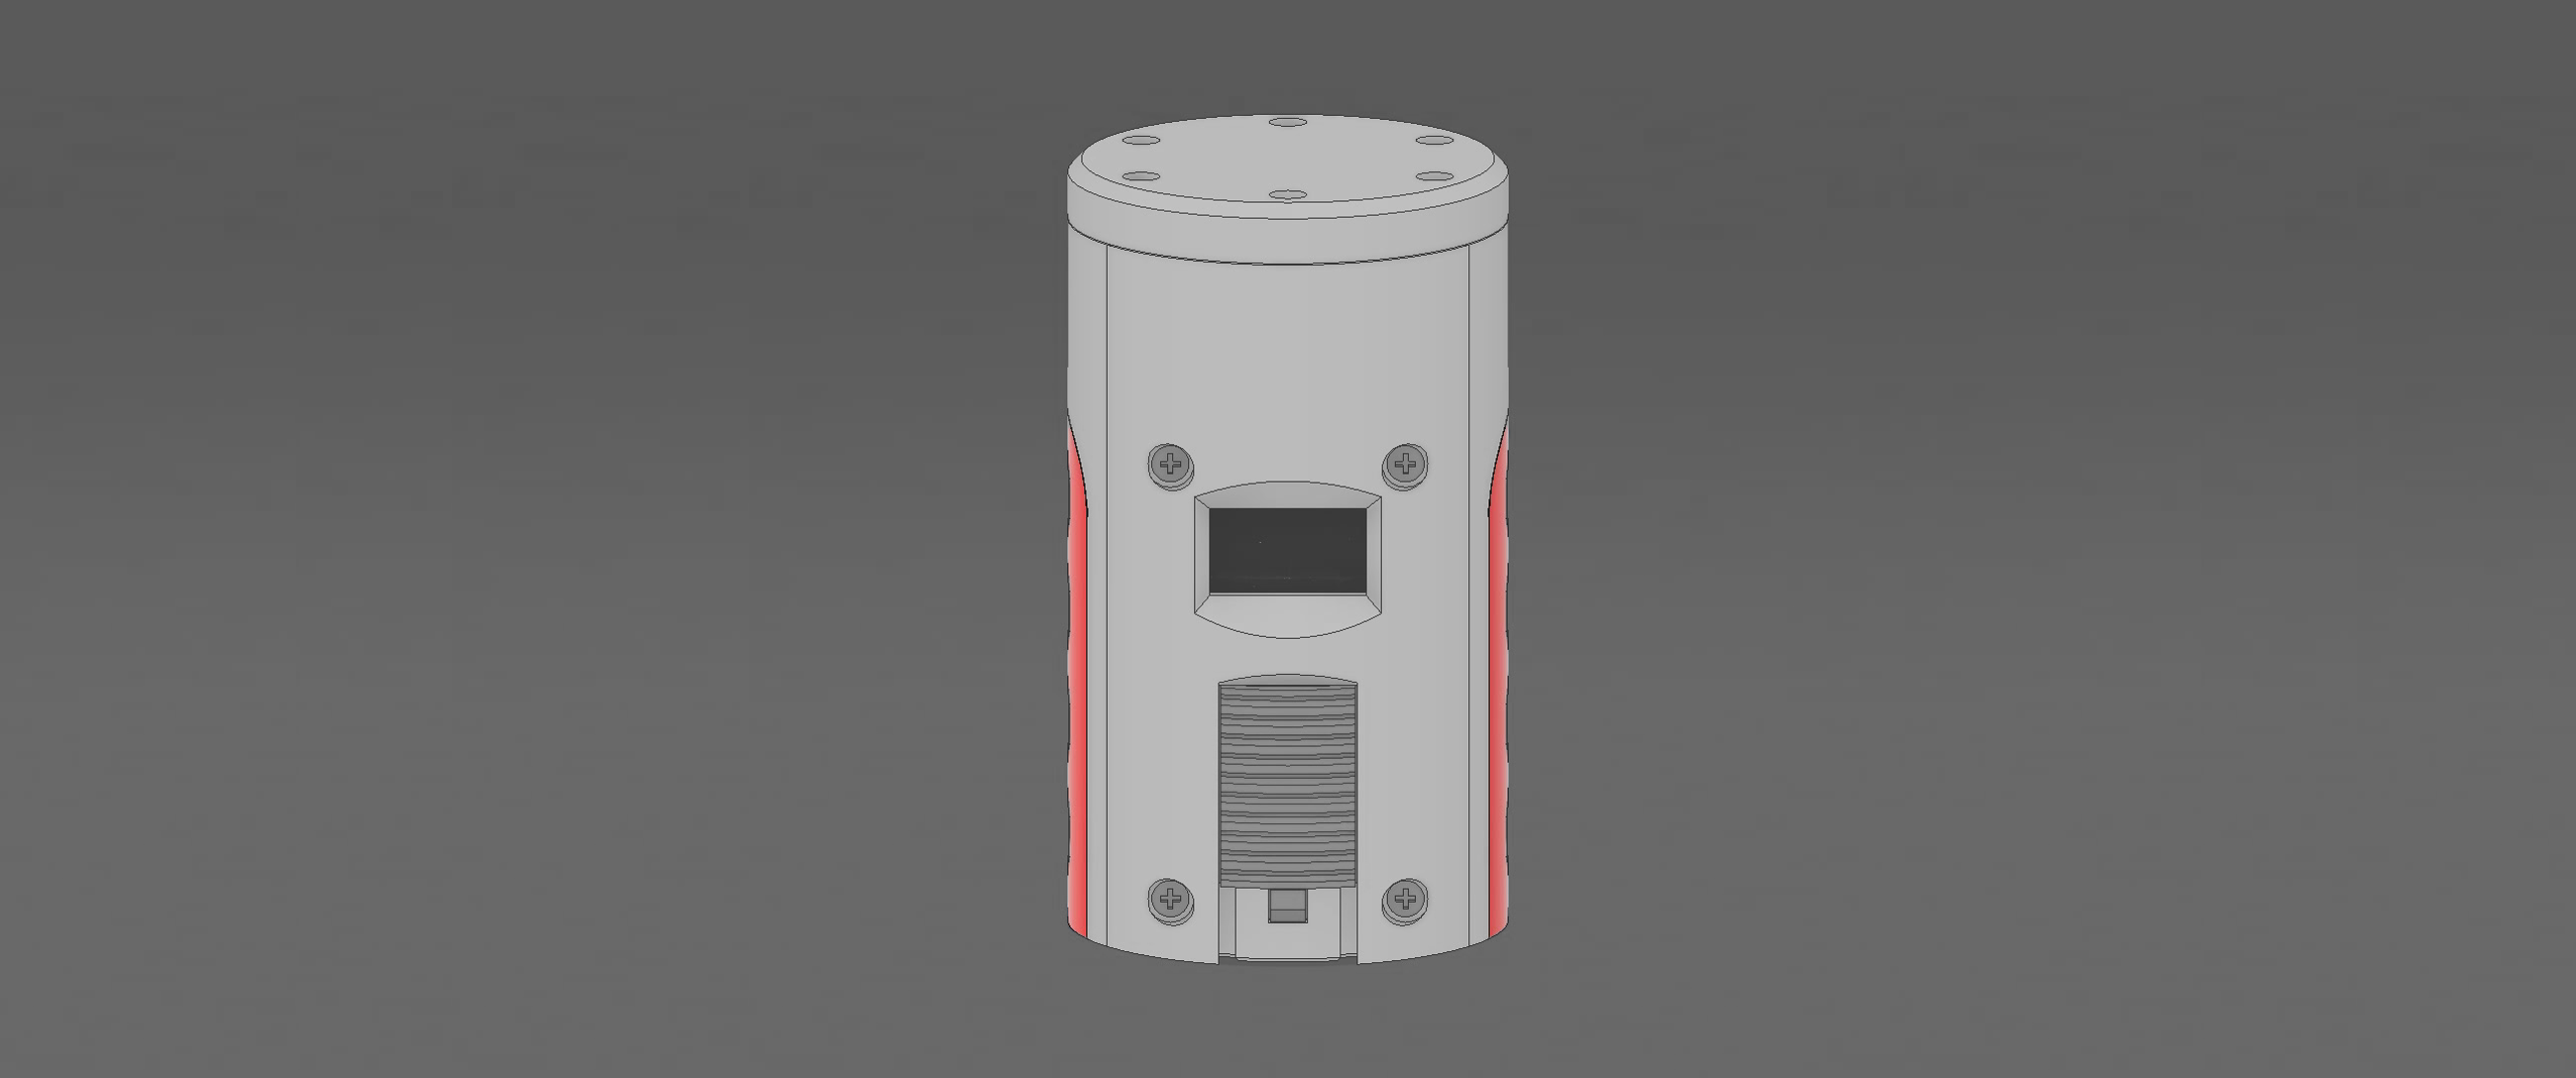
The speciality of our CanSat is the onboard display and buttons. These allow changing configuration easily and displays live data. It can be switched to ground station mode to display receieved data.
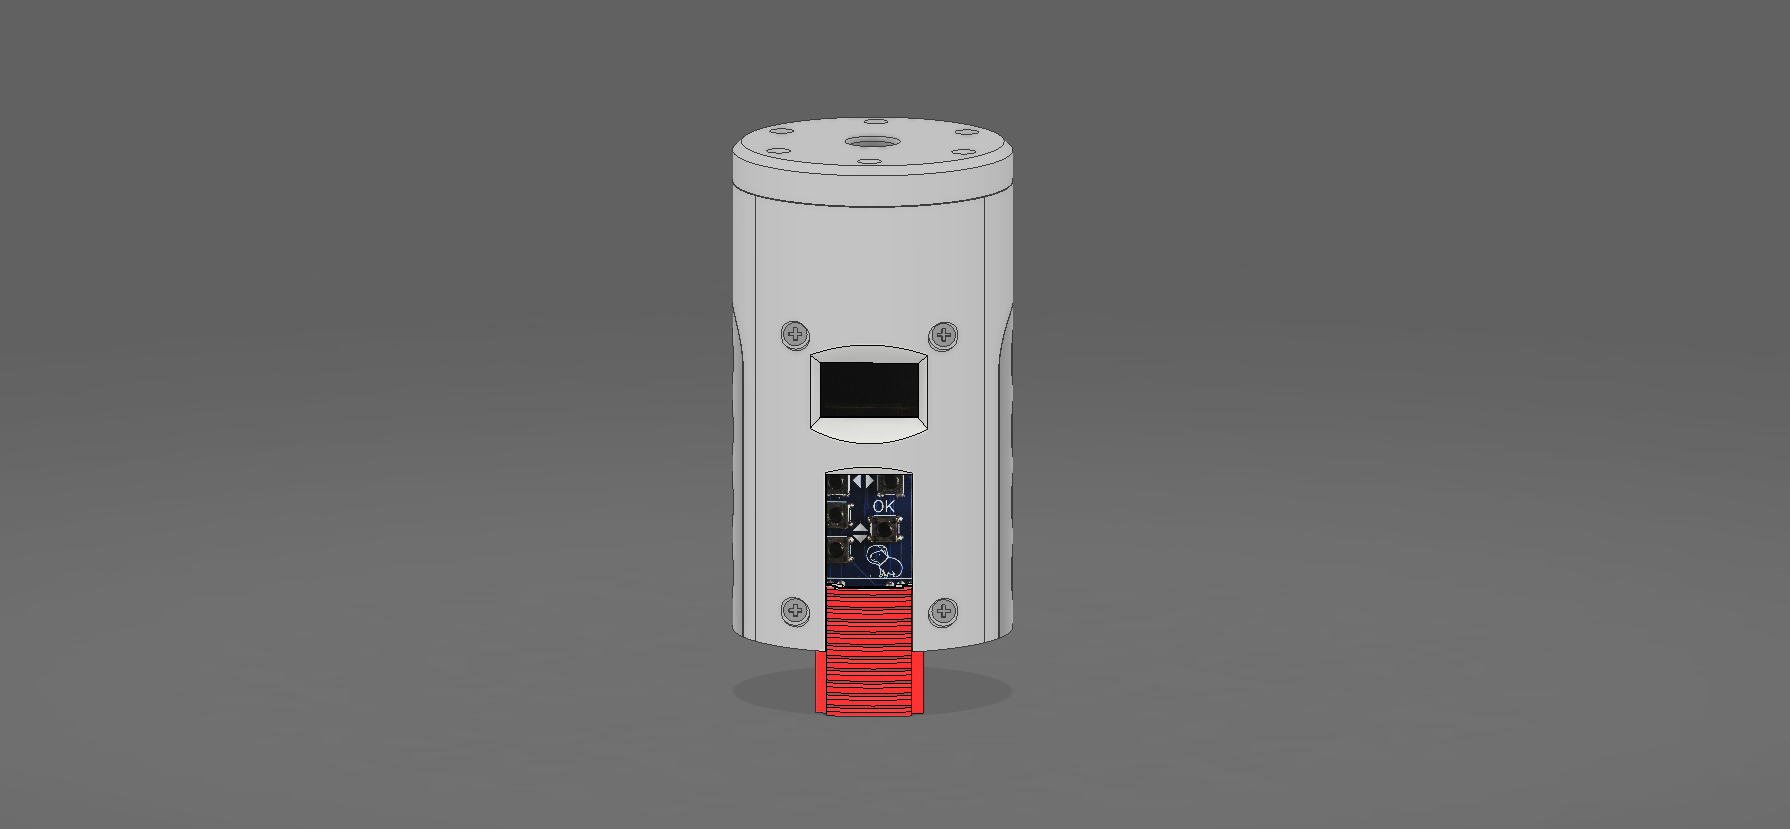
Our CanSat has two independent sensor blocks on opposite sides. These are well protected, yet exposed to open air for up-to-date data. Having 2 of each sensor also lets us average values and detect anomalies.
Our CanSat measures temperature, pressure, humidity, VOC levels, acceleration and GPS position. These were evaluated and presented by us in the final.
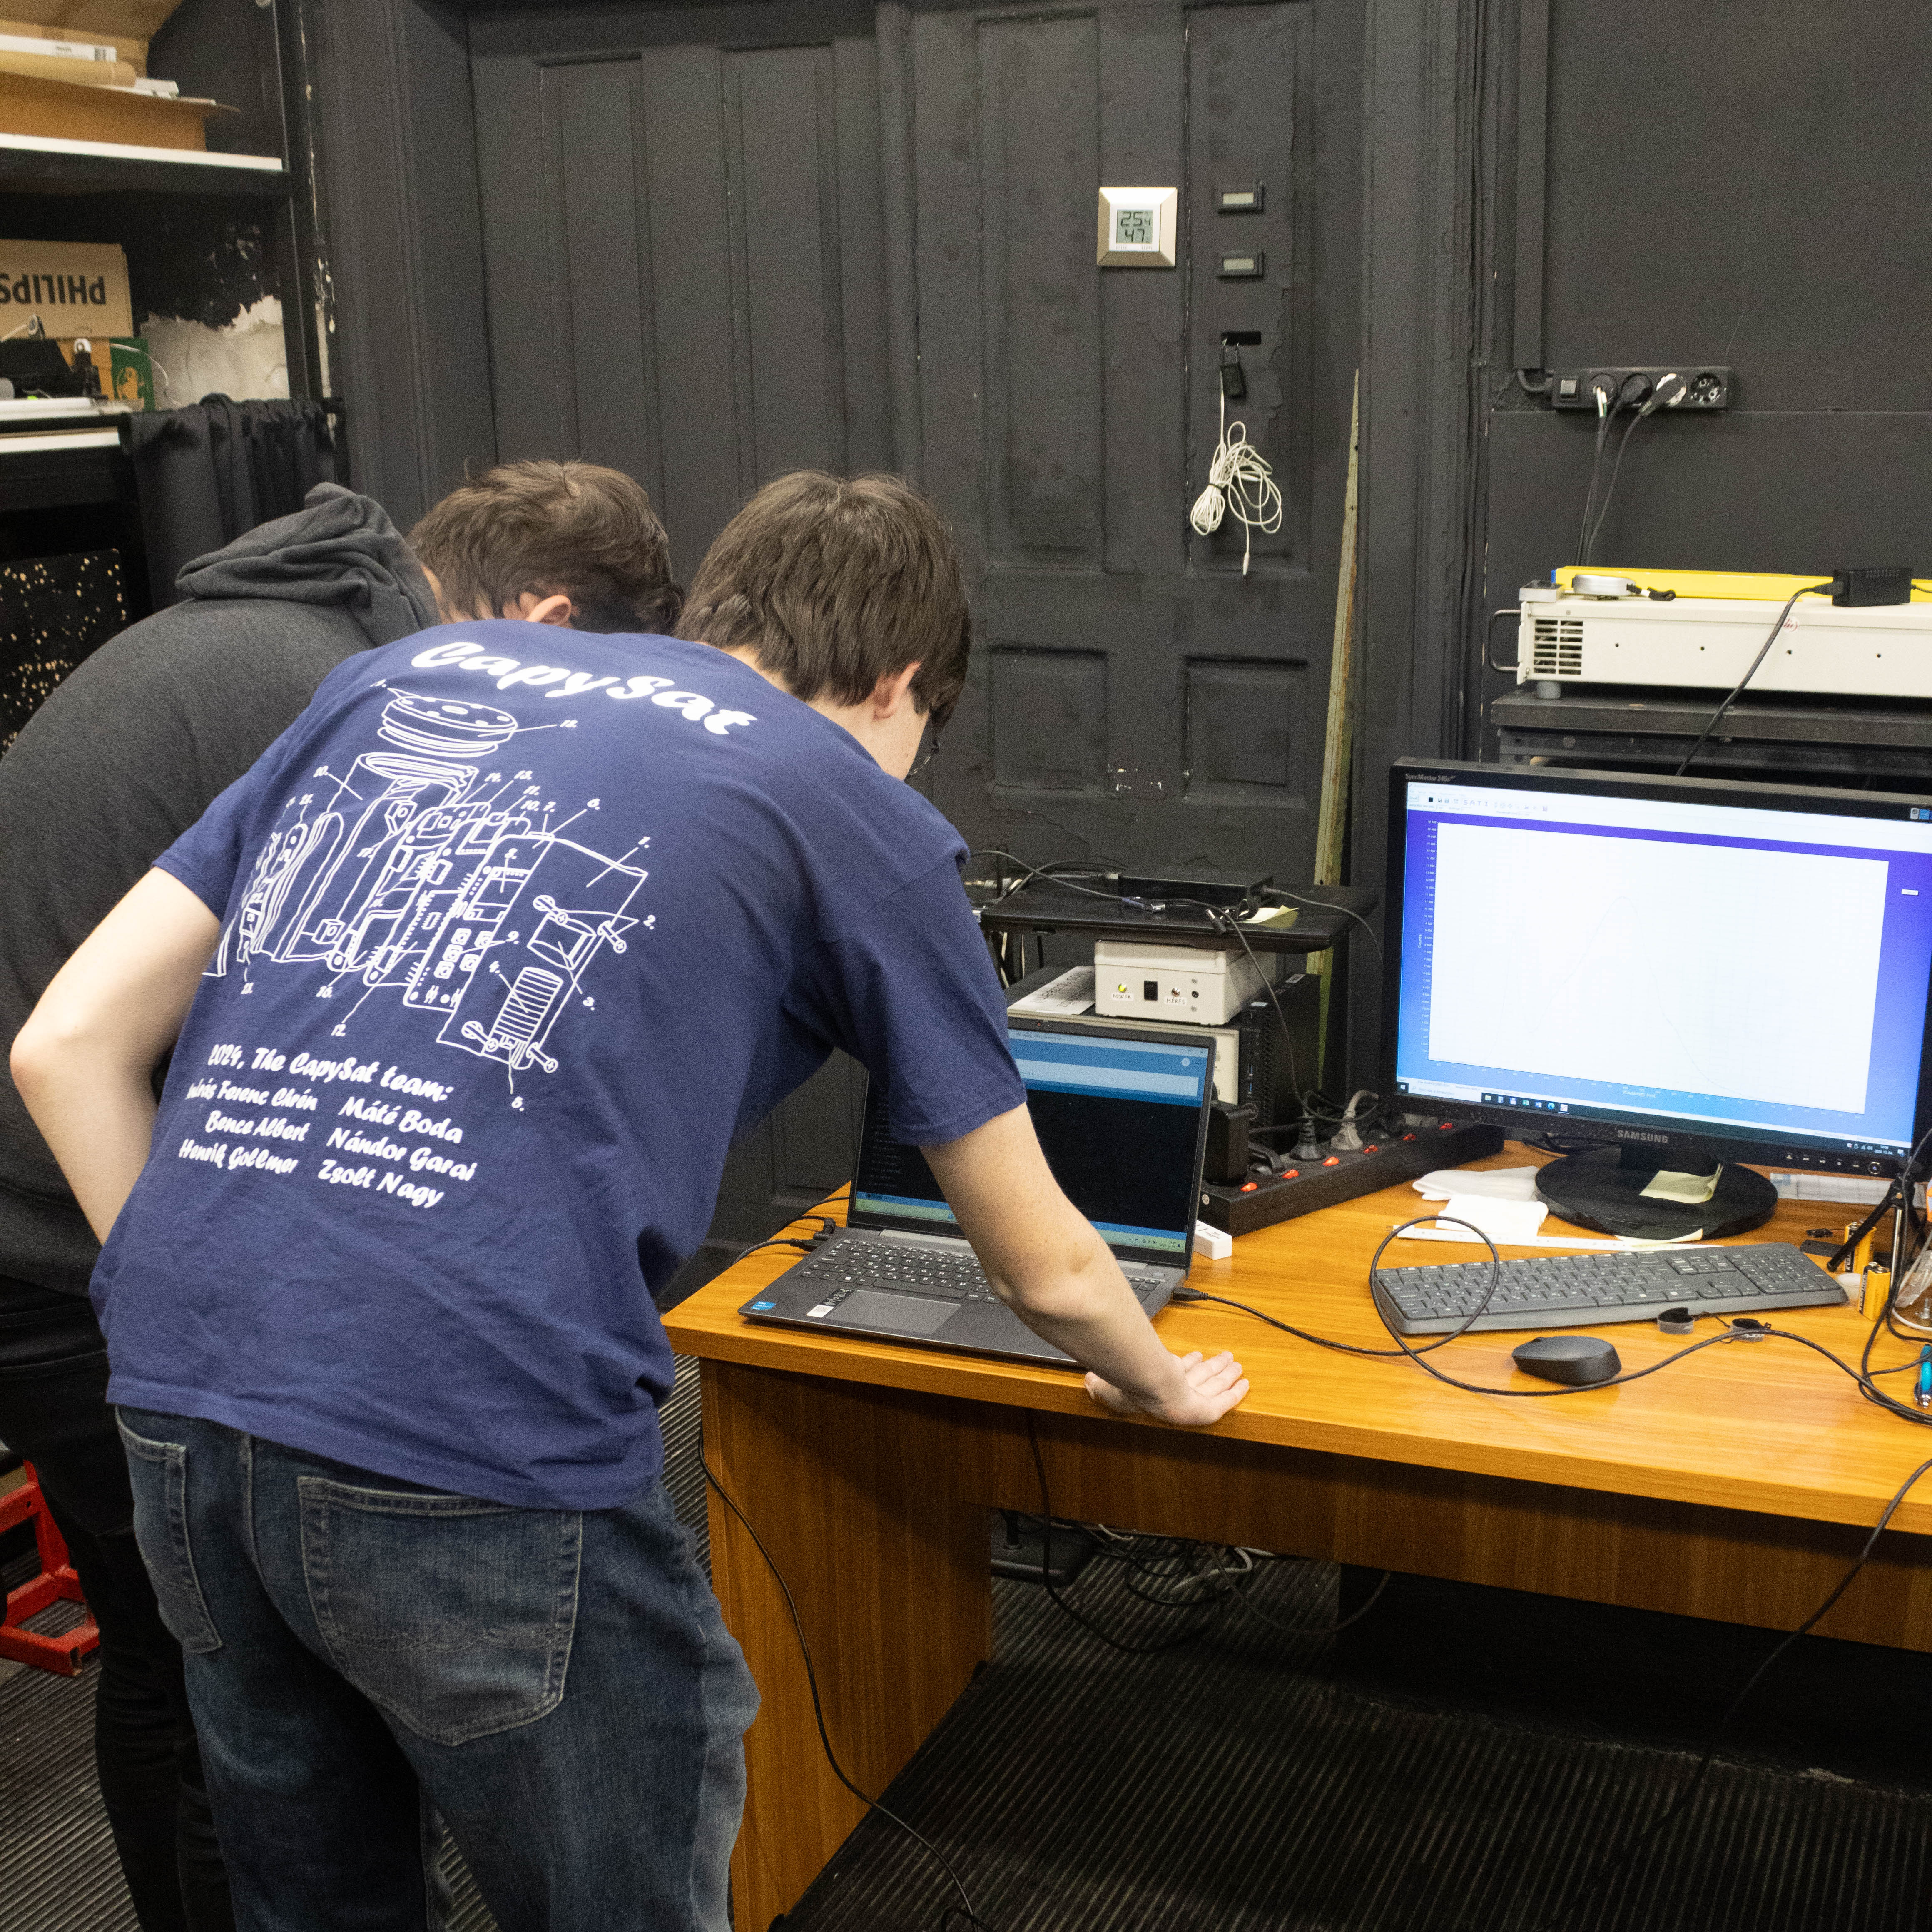
We refined our sensors and compared results with a calibrated device.
For more information, click here!